Step 3
You will notice that the first page of your document begins on a right-hand single page. However, we want to create the layout for three two-page spreads. If you’re creating a whole magazine in one document, you can simply treat Page 1 as the first page of your whole magazine, e.g. a page for contents or perhaps for an advertisement.
For now, though, we want to be able to shuffle Page 2 of the document upwards, so that it sits next to Page 1, forming a full spread.
Open the Pages panel (Window > Pages) and then open the panel’s drop-down menu, accessible from the top-right corner of the panel. Click once on Allow Document Pages to Shuffle to uncheck the option.
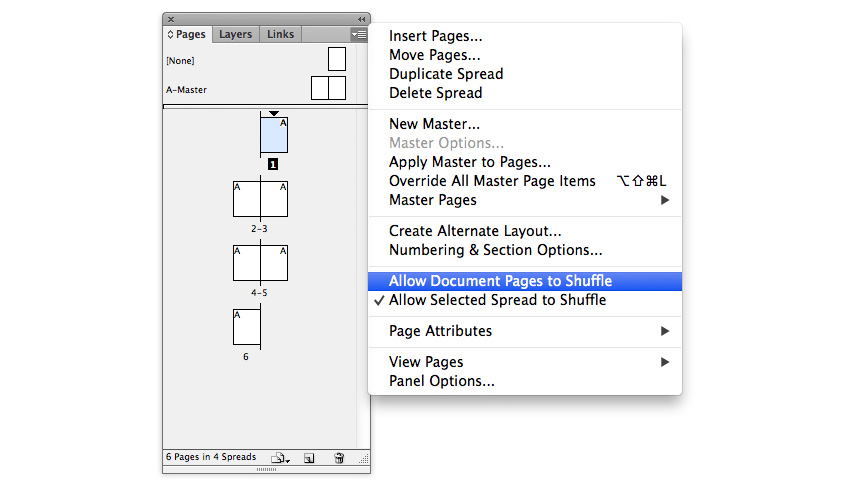
Back in the Pages panel, you can now grab individual pages and move them around more freely, connecting them to other pages without the restraints of the normal shuffle mode.
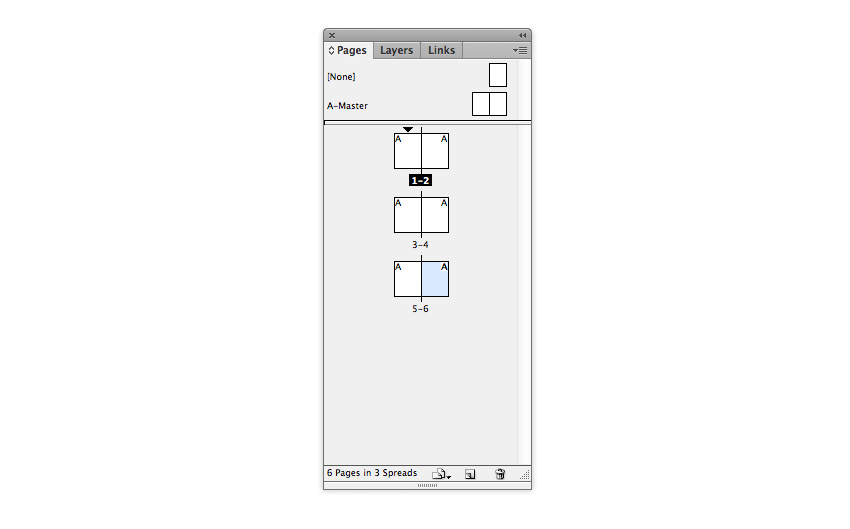
Grab the Page 2 page icon and connect it to the right-hand side of Page 1. Repeat with the process with the other pages until you have a set of three two-page spreads, as shown.
Step 4
Even though experimenting with typography is encouraged for dynamic, exciting magazine layouts, you should always set up some sort of grid to allow text to appear consistent across the spreads of your magazine. This will give the layouts a professional, clean look.
Let’s create a simple grid on the Master spread, as this will then be applied automatically to all the pages in your document.
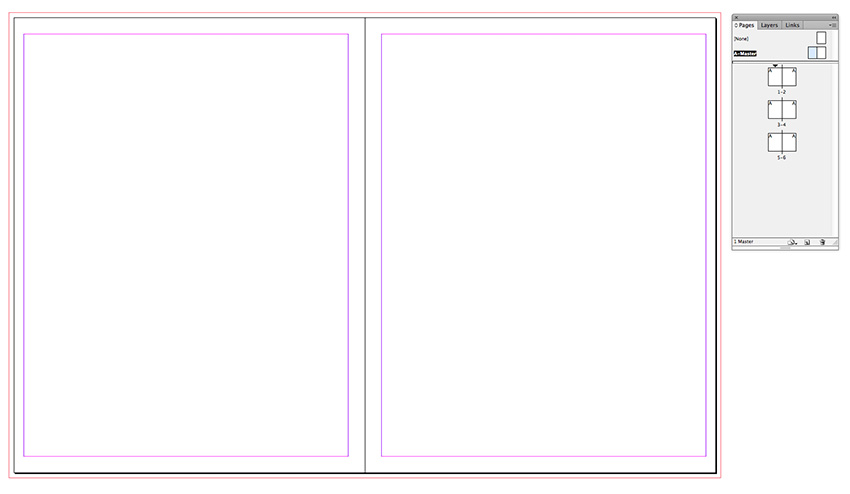
Return to the Pages panel and double-click on one of the A-Master page icons to bring up the Master on screen.
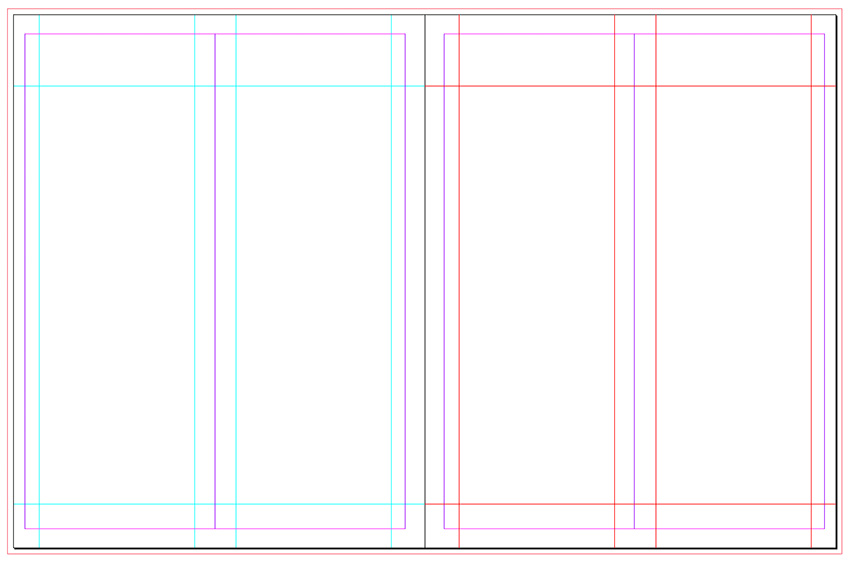
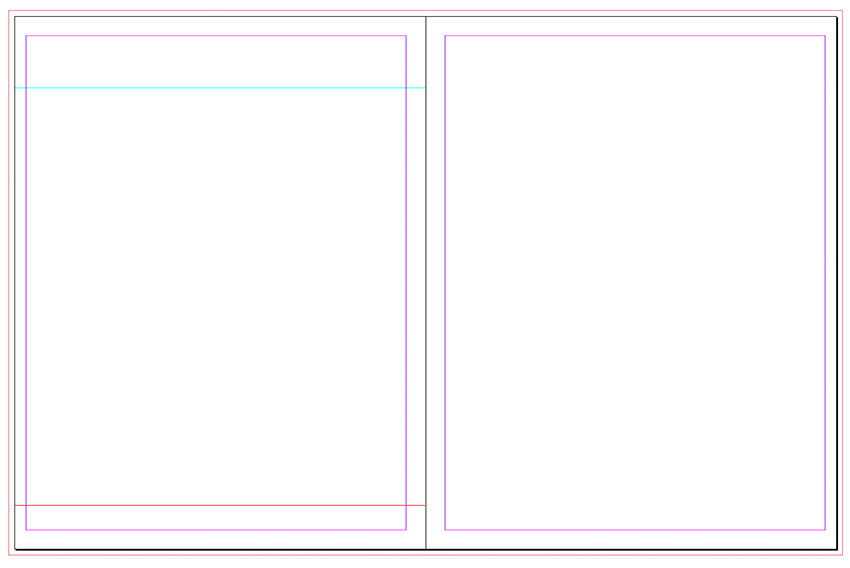
If the rulers are not shown by default go to View > Show Rulers. Drag a Guide down from the top ruler to 37 mm, allowing it to sit on the left-hand page. Drag a second guide down to 254 mm.
From the left-hand ruler, drag a vertical guide out to 13 mm and then drag a second out to 195 mm.
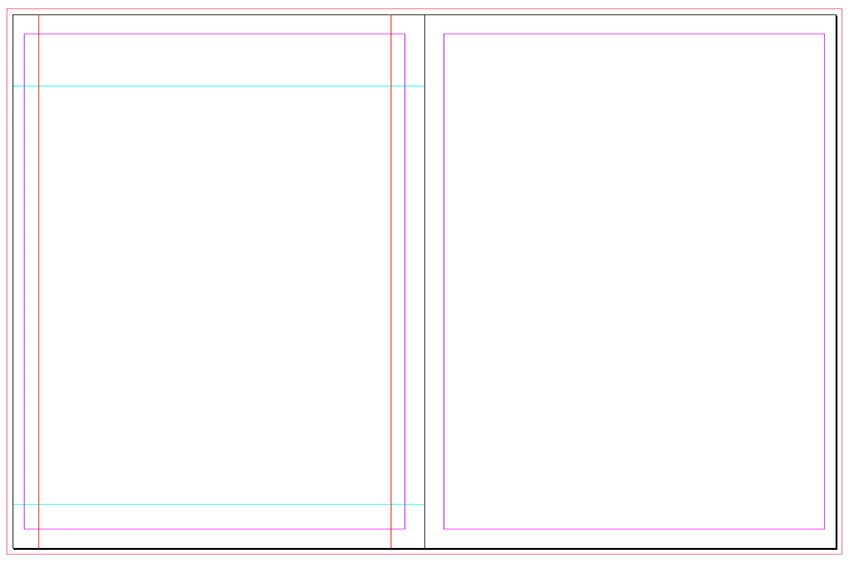
These guides will form the top, bottom and outer edges of your columns of text.
Let’s mark out the center point of the document. The center point will actually be slightly off center, as the outside margin is narrower than the inside margin. But this is absolutely fine; all your content will appear centered once printed and bound.
Go to Layout > Margins & Columns and set the Number of Columns to 2 and the Gutter to 0 mm. Click OK.
Drag out another vertical guide from the left-hand ruler to 94 mm and drag a second to 115 mm.
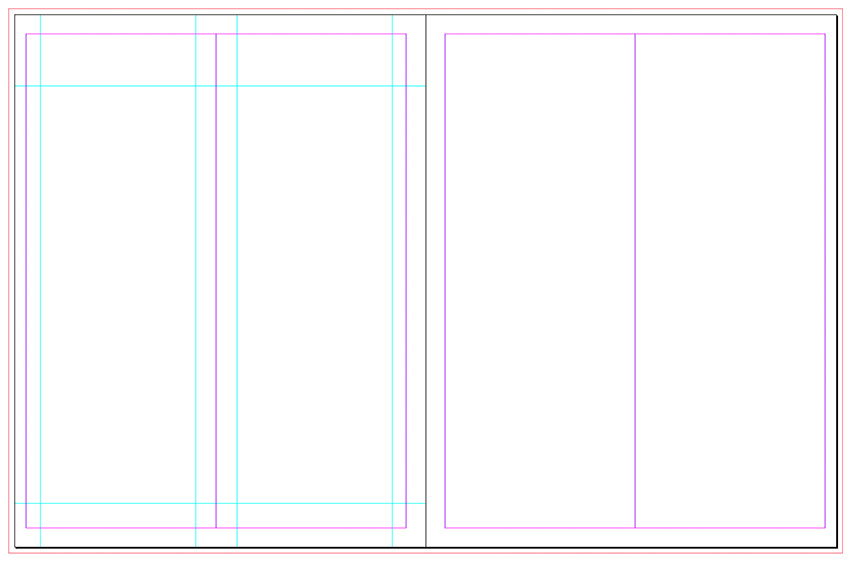
Finally, drag your mouse over the whole of the left page to select all the guides and go to Edit > Copy, Edit > Paste. Manoeuvre this pasted set of guides into a mirrored position on the right page of the Master spread.