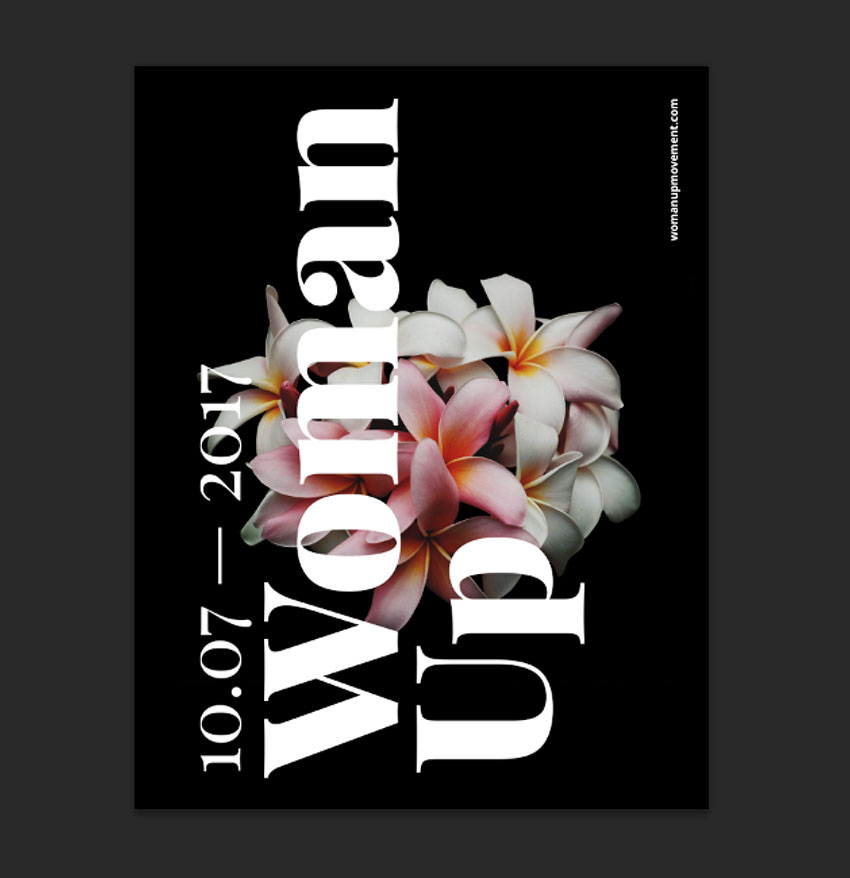
4. How to Add Text Layers
Step 1
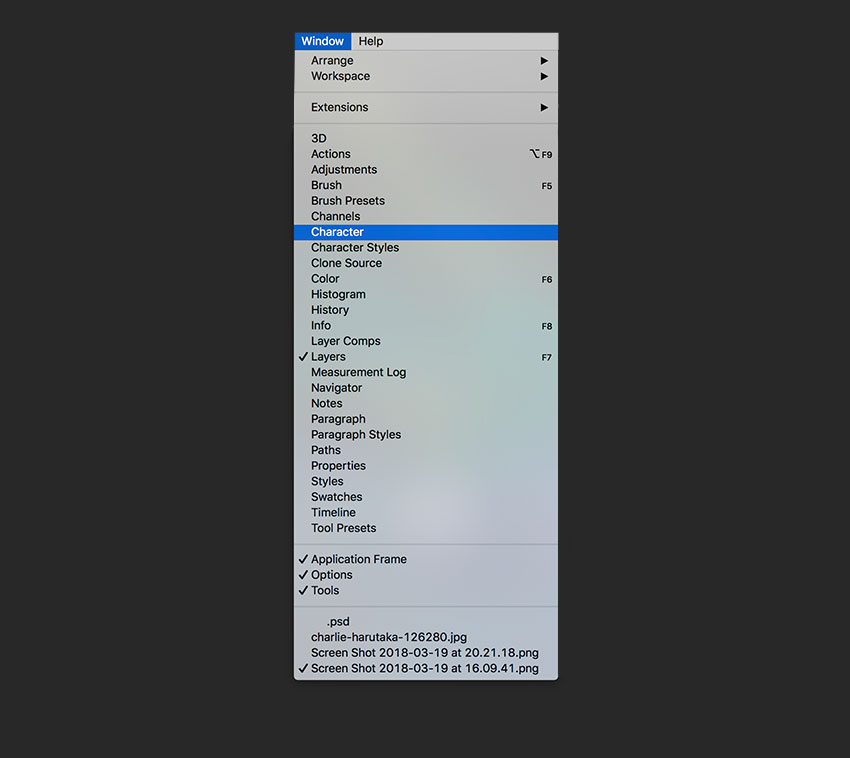
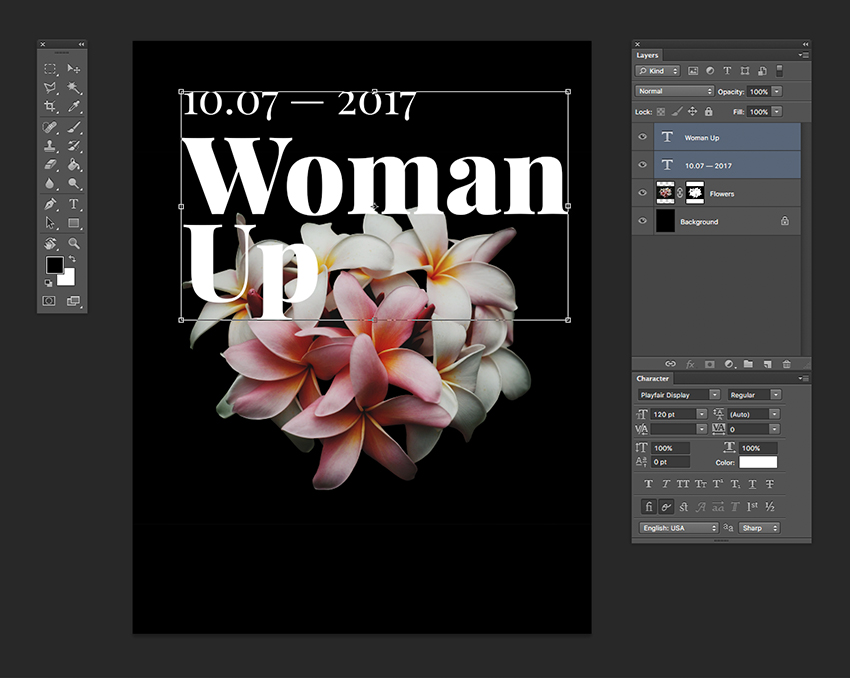
Bring up the Characters panelby going to Window > Character. Press T to add a new text layer. One the first layer, add a date, and on the second layer, add Woman Up.
Step 2
Select the text layers by holding Command and clicking on both. Let’s rotate these two layers vertically by pressing Command-T, head over to one of the corners until the rotation symbol appears, and hold down Shift to make an even rotation.
Step 3
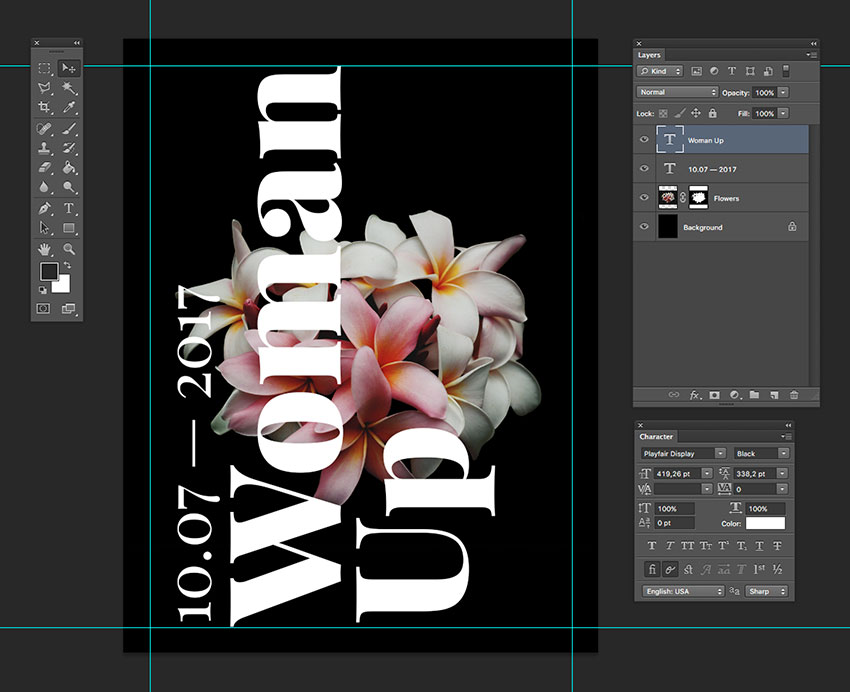
We want to fill up the whole poster to create something with impact. Bring up the guides by pressing Command-;. Resize both text layers by pressing Command-T to fill the poster, vertically, from guide to guide. The goal is to have the title and date interact with the flower.
Step 4
Let’s add a website to balance the poster. I used Open Sans, at 25 pt, white in colour, and placed it in the top right corner, leaving about an inch margin. I used something different because Playfair Display is used, as its name suggests, for display settings and doesn’t read well in small sizes.