5. How to Make the Final Adjustments
Step 1
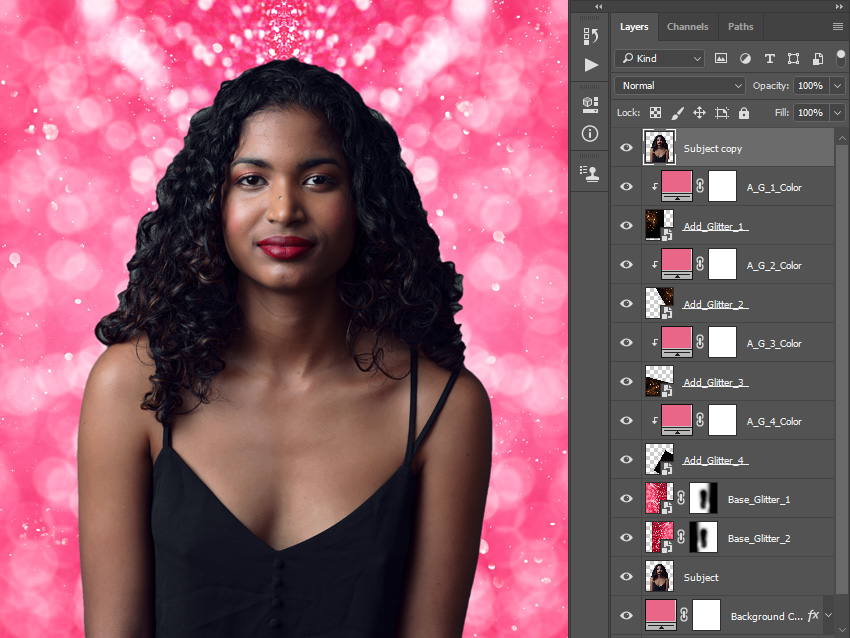
In this section we are going to make some final adjustments to the design. Select the Subject layer and press Control-J on your keyboard to duplicate it. Then, drag this layer to the top of the layers in the Layers panel.
Step 2
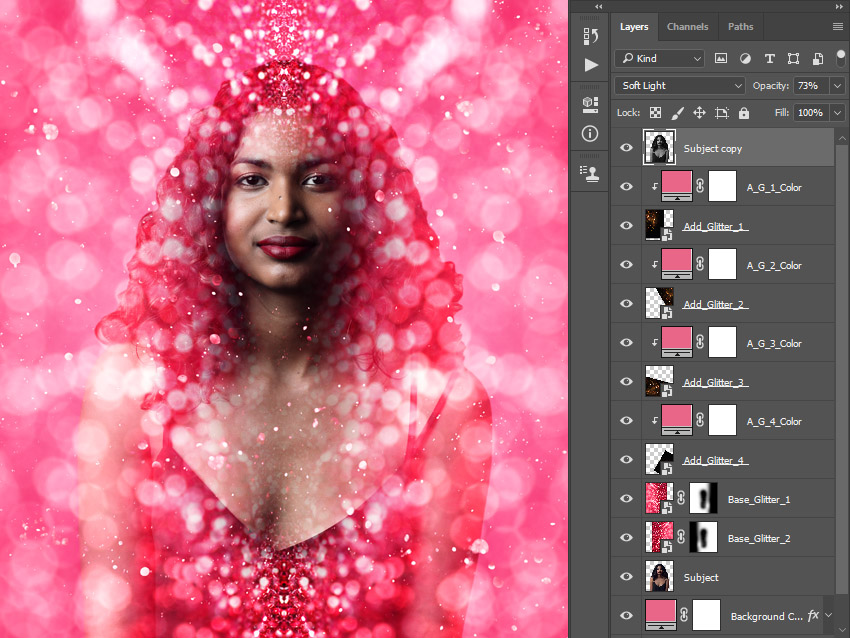
Now press Control-Shift-U on your keyboard to desaturate this layer. Then, change the Blending Mode of this layer to Soft Light and set the Opacity to 73%.
Step 3
Name this layer Subject Details.

Step 4
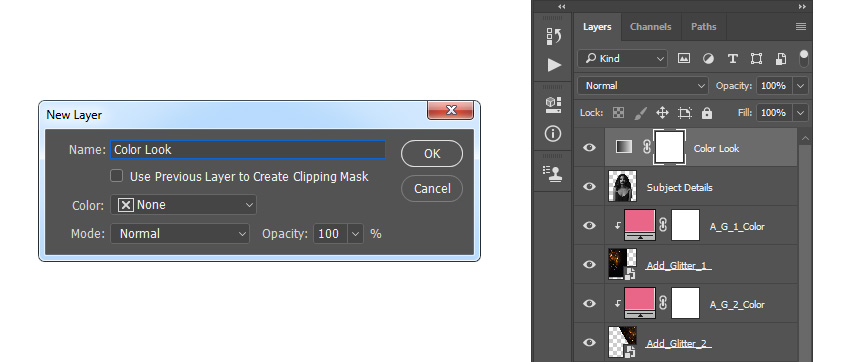
Now go to Layer > New > Gradient Map to create a new gradient map adjustment layer and name it Color Look.
Step 5
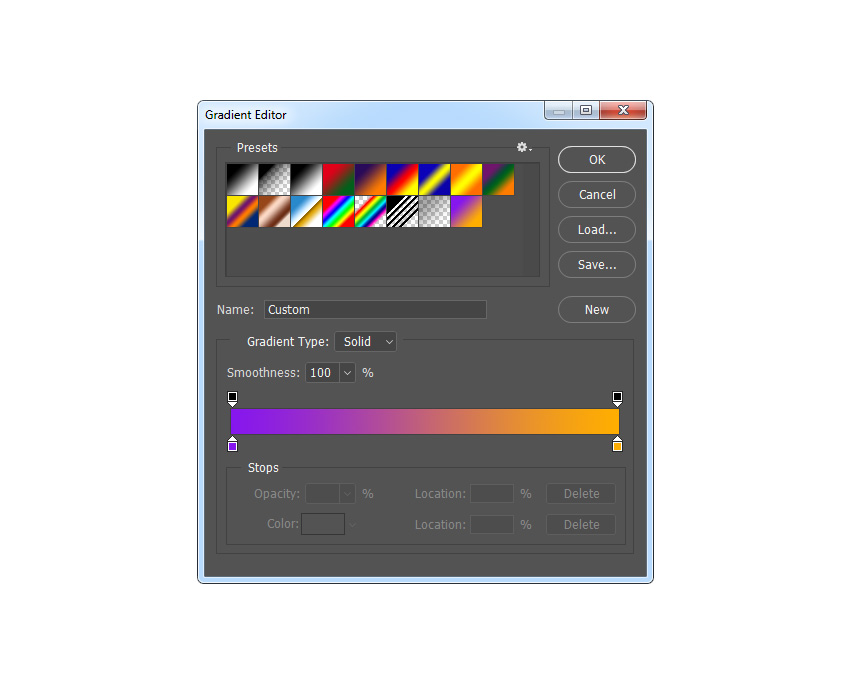
Double-click on this layer thumbnail, and then in the Properties panel, click on the gradient to open up the Gradient Editor panel and enter the settings below:
Step 6
Now change the Blending Mode of this layer to Soft Light.
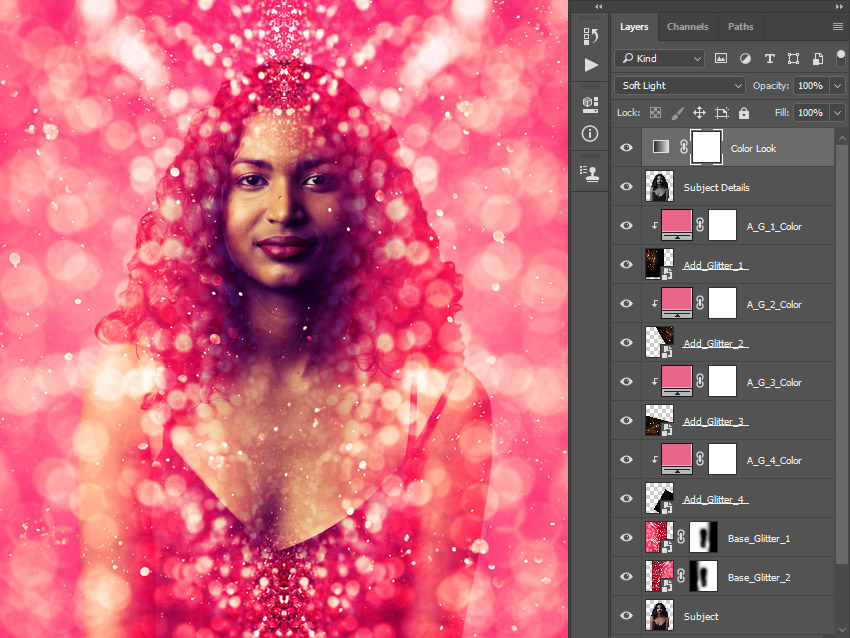
Step 7
Press D on your keyboard to reset the swatches. Then, go to Layer > New Adjustment Layer > Gradient Map to create a new gradient map adjustment layer and name it Overall Contrast.
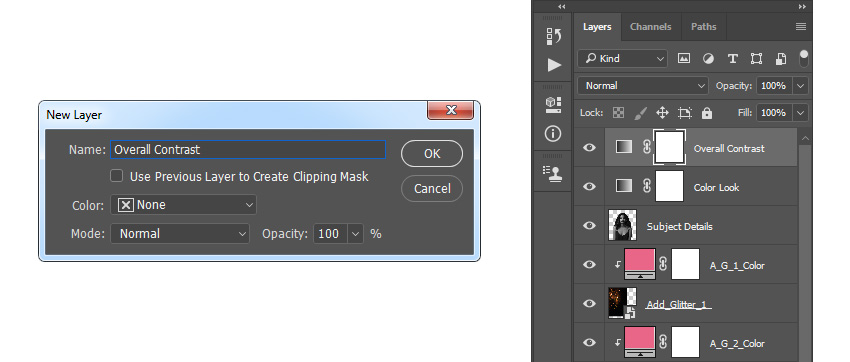
Step 8
Now change the Blending Mode of this layer to Soft Light and set the Opacity to 73%.
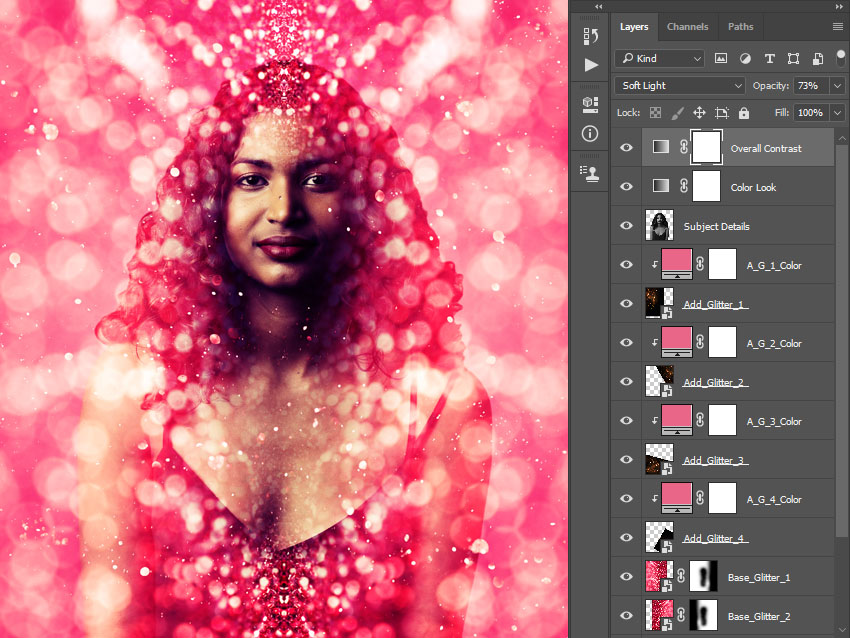
Step 9
Select the Base_Glitter_1 layer and click on the link icon between the layer thumbnail and layer mask to unlink them. Then, select the layer thumbnail, and using the Move Tool (V), click and drag anywhere inside the canvas to drag the layer to the left as shown below:
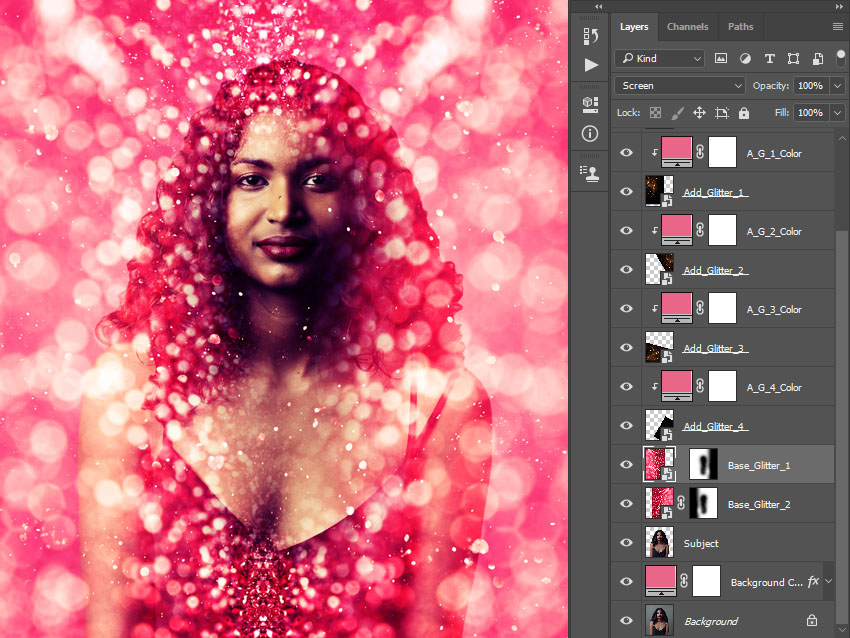
Step 10
Now select the Base_Glitter_2 layer and click on the link icon between the layer thumbnail and layer mask to unlink them. Then, select the layer thumbnail, and using the Move Tool (V), click and drag anywhere inside the canvas to drag the layer to the right as shown below:
