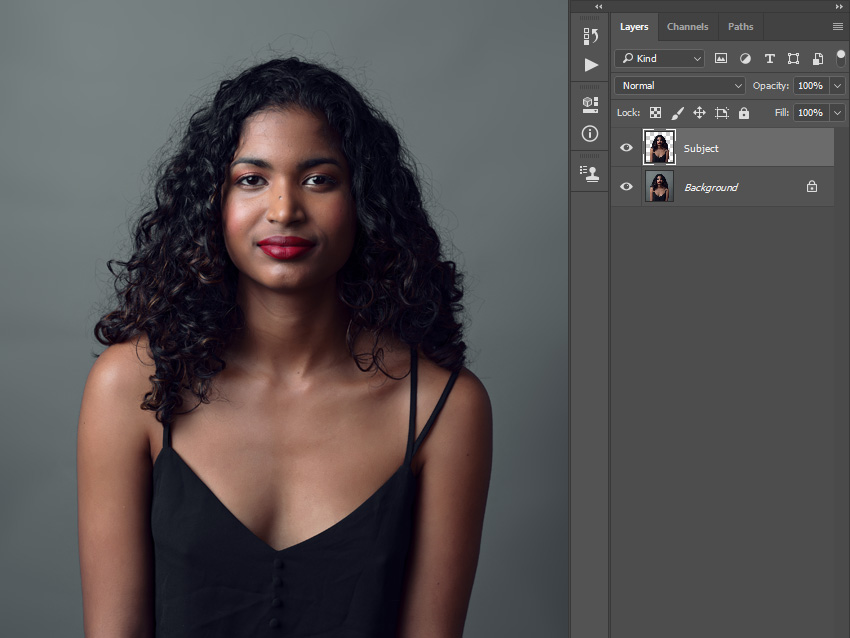
If you want to add glitter to photo, in this tutorial I’ll show you how to make glitter in Photoshop and how to add it your photos. Once you create this glitter effect Photoshop action, you’ll be able to add glitter to photos with a single click!

How to Create a Glitter Effect Photoshop
- How to make a glitter background in Photoshop
- How to add glitter in Photoshop
- How to add glitter to pictures
- How to create a glitter effect in Photoshop
- How to add a glitter effect in Photoshop
What You’ll Need
To recreate the design above, you will need the following resources:
- Main Photo (Use your own Photo)
- Texture 1 (Choose your Own)
- Texture 2 (Choose your Own)
1. How to Start Creating an Action
Step 1
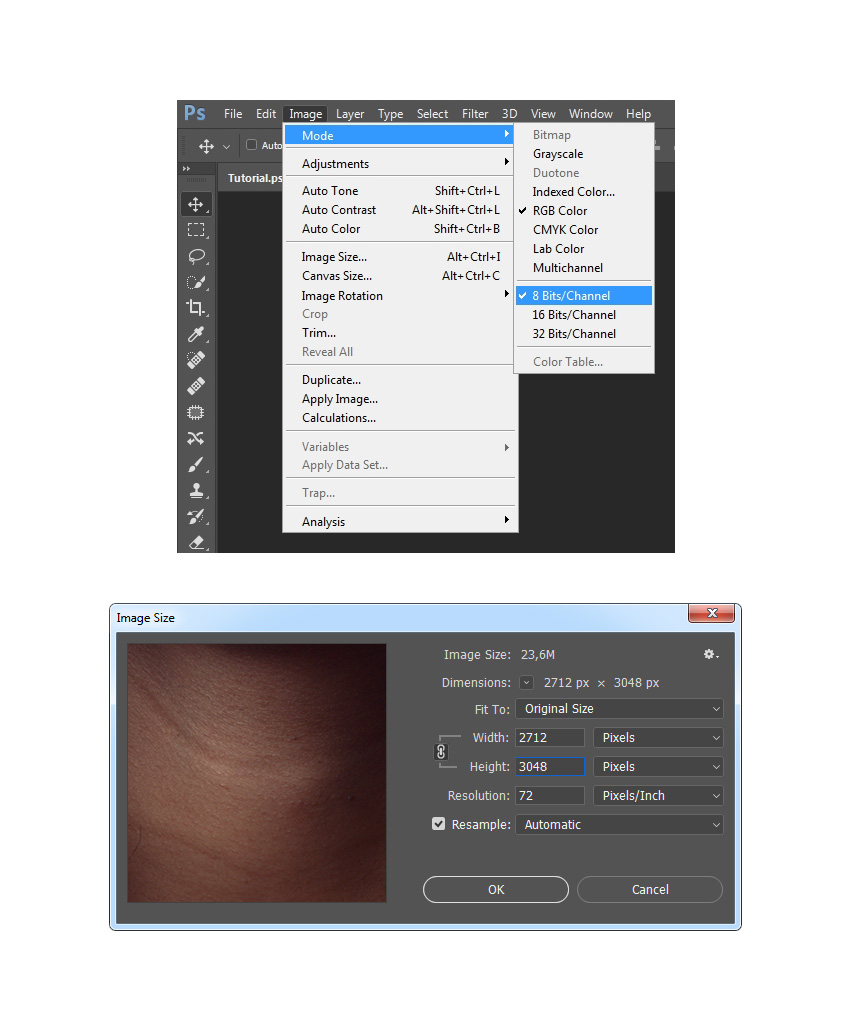
First, open the photo that you want to work with. To open your photo, go to File > Open, choose your photo, and click Open. Now, before we get started, just check a couple of things:
- Your photo should be in RGB Color mode, 8 Bits/Channel. To check this, go to Image > Mode.
- For best results, your photo size should be 2000–4000 px wide/high. To check this, go to Image > Image Size.
- Your photo should be the Background layer. If it is not, go to Layer > New > Background from Layer.
Step 2
2. How to Select the Subject
Step 1
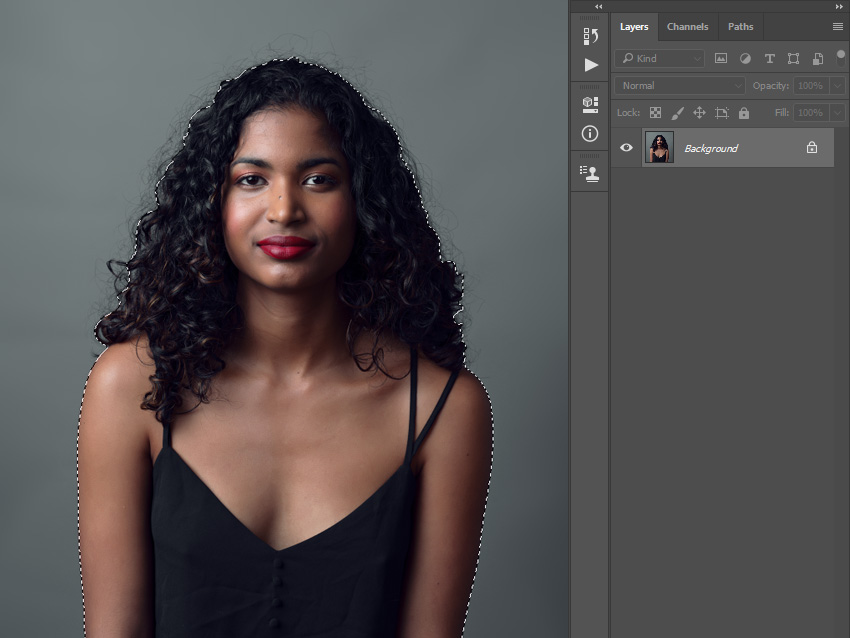
Before I show you how to add glitter to pictures, first we need to prepare the subject. Choose the Quick Selection Tool (W) and select the background of the photo. Use the Shift-Alt buttons on your keyboard to add or subtract areas from the selection. After you’ve made a perfect selection, press Control-Shift-I on your keyboard to invert the selection.
Step 2
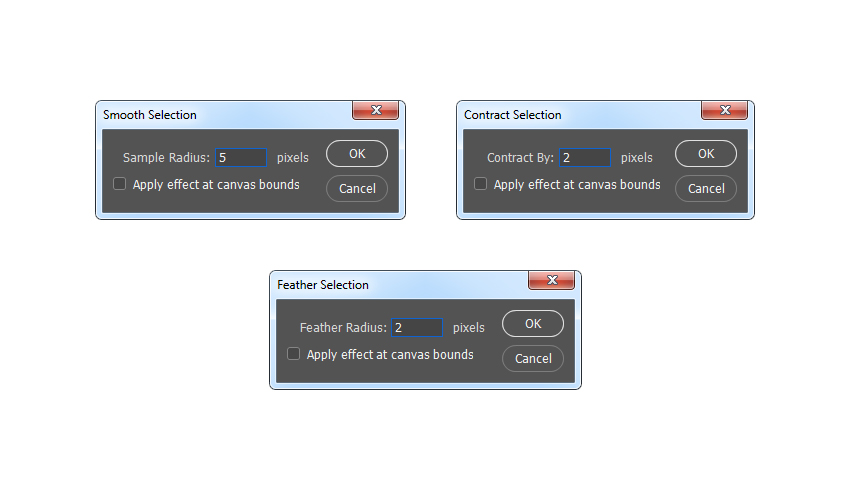
Now go to Select > Modify > Smooth and set the Sample Radius to 5 px. Next, go to Select > Modify > Contract and set Contract By to 2 px. Finally, go to Select > Modify > Feather and set the Feather Radius to 2 px.
Step 3
Press Control-J on your keyboard to create a new layer using the selection, and name this new layer Subject.