February 19, 2020 by admin
How to Create a Fall-Themed Wedding Invite in Adobe InDesign
Step 5
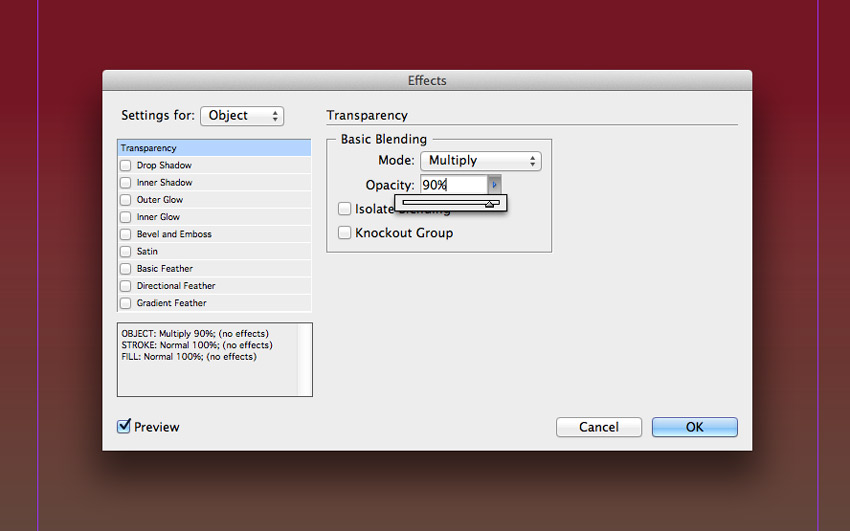
With the image frame selected, go to Object > Effects > Transparency. Set the Mode to Multiply and reduce the Opacity to 90%.
3. How to Format Elegant Typography for Your Invite
Step 1
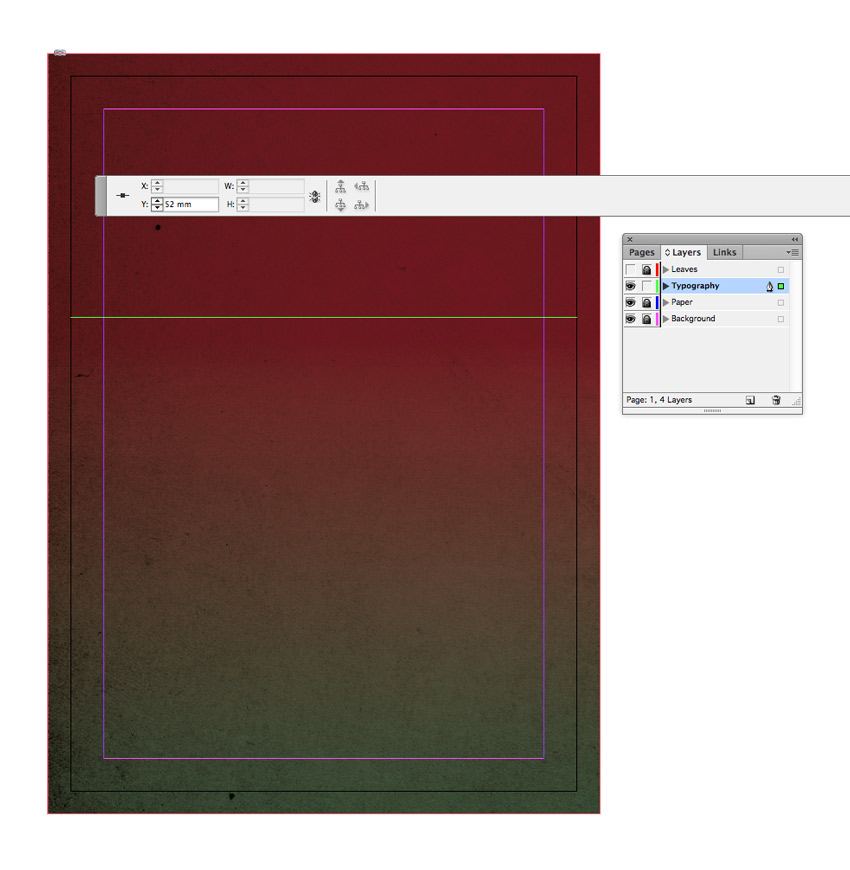
With the rulers visible (View > Show Rulers), drag a guideline down from the top ruler to 52 mm.
Take the Type Tool (T) and drag to create a text frame that extends from the left-hand margin to the right-hand margin. Type in ‘Please Join’, and allow the baseline of the text to sit on the guideline.
From either the top Controls panel or the Character panel (Window > Type & Tables > Character), set the Font to England Hand, Size 11 pt and set the text to Align Center. Set the Font Color to Cream from the Swatches panel.

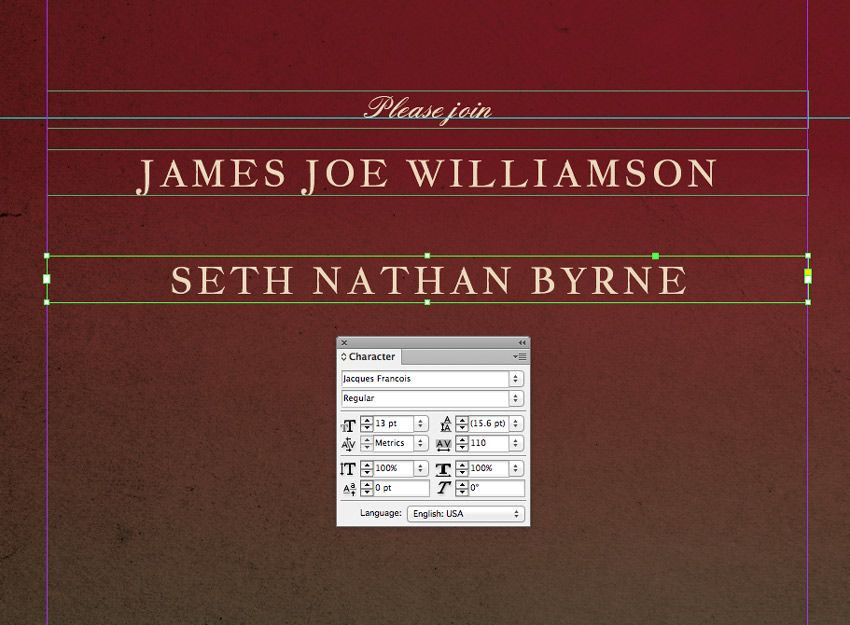
Step 2
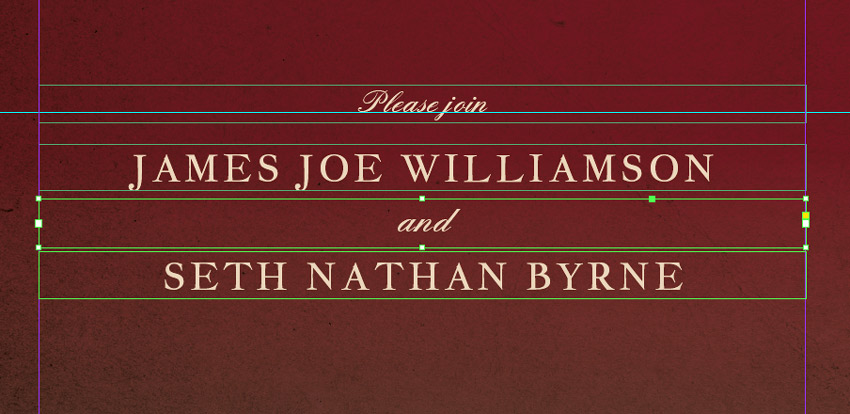
Create a second text frame below the first, typing in ‘Name 1’ in uppercase letters, and setting the Font to Jacques Francois, Size 13 pt and increasing the Tracking (space between all characters) to 110. Set the Font Color to Cream, as before.

Copy and Paste this name text frame, moving it below with a gap in between and adjusting the text to read ‘Name 2’.
Set a text frame between the names reading ‘and’, setting the Font to England Hand.
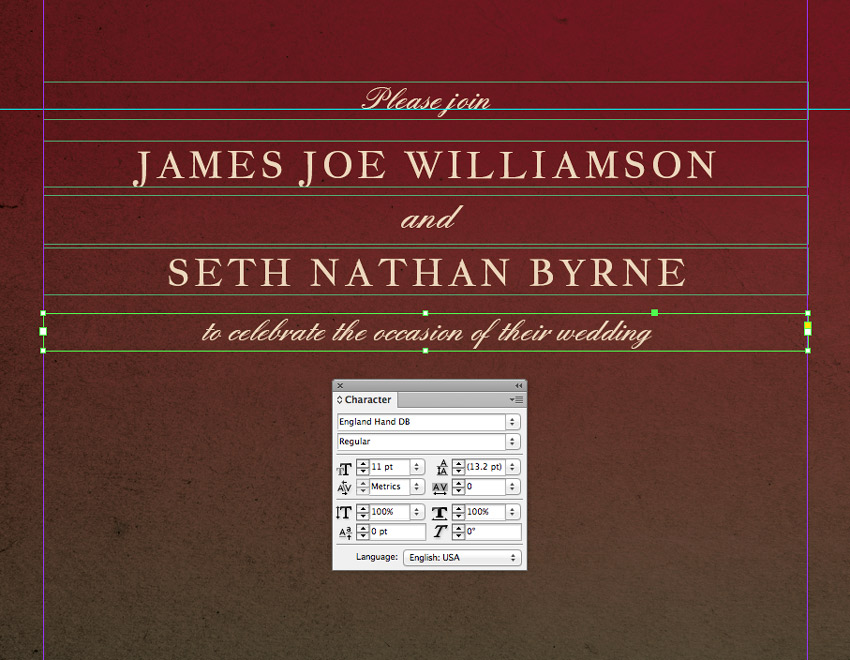
Set another text frame below ‘Name 2’, reading ‘to celebrate the occasion of their wedding’ and set in England Hand, as before.
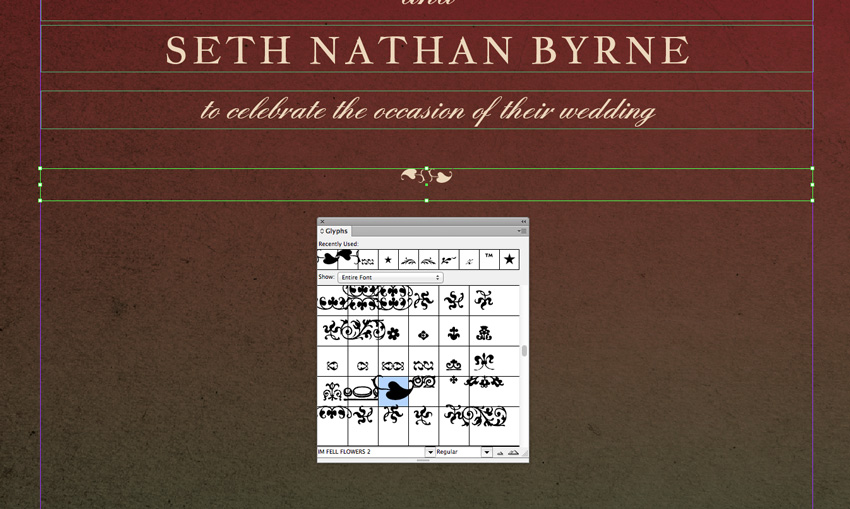
Step 3
Create a text frame below the previous. Place your type cursor in the frame and set the Font to IM FELL FLOWERS 2.
Then go to Window > Type & Tables > Glyphs, and select a decorative glyph from the panel, like the leaf style pictured. Double-click to insert it. You can insert two opposite-facing glyphs to create a balanced divider.
Step 4
Build up the second section of text, which will include the date (set in Jacques Francois) and the time (set in England Hand).
Then Copy and Paste the decorative divider text frame below.

Step 5
You can add a third section of text with details of the event location towards the bottom of the page, set in Jacques Francois.
Include a ‘PTO’ note at the bottom if you would want to include any more details on the reverse of the invite.

4. How to Add Autumnal Leaves to Your Invite
Step 1
Lock the Typography layer and unlock the top layer, Leaves. File > Save your InDesign document and minimize the window for a minute.
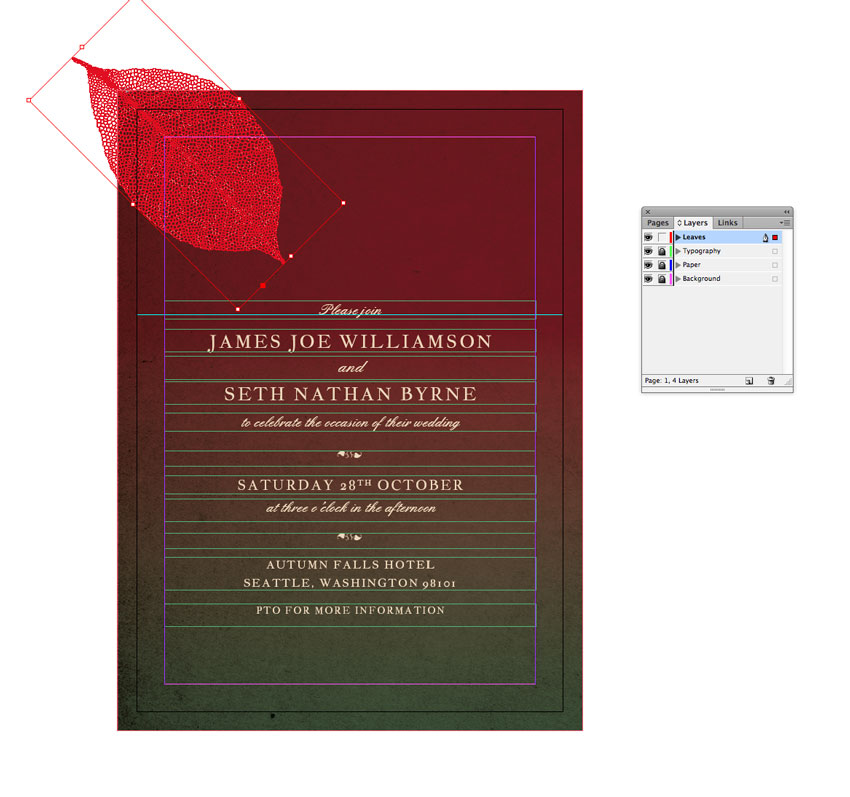
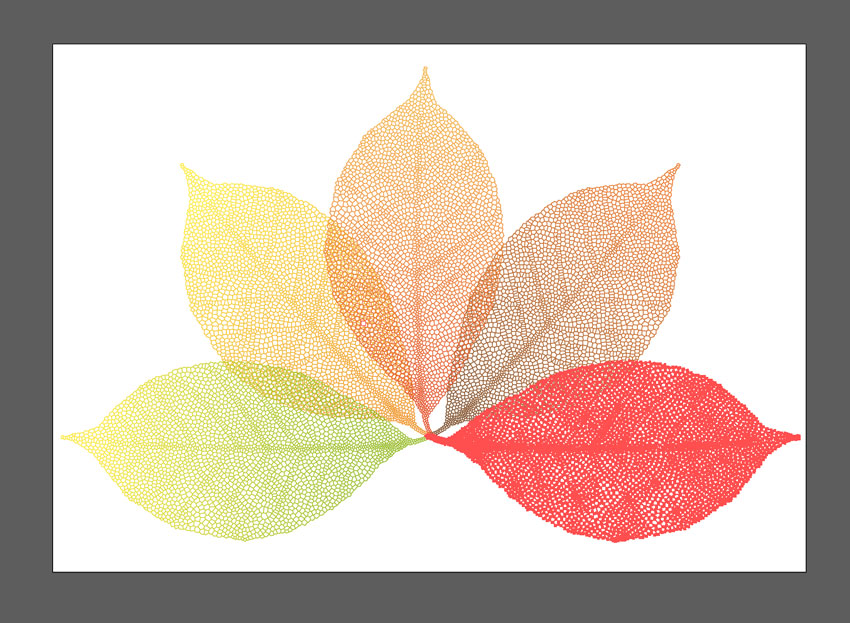
Open up the autumn leaves vector in Illustrator. Isolate one of the leaves in the illustration and set the Fill to a solid black swatch. Then Edit > Copy the leaf.
Return to InDesign and Edit > Paste the leaf vector directly onto the page. Rotate and scale it into roughly the position shown at the top-left of the page.