January 14, 2023 by admin
Creating Beautiful Drop Caps in InDesign
From: https://indesignskills.com/
A drop cap adds a professional flourish to any layout, whether you’re designing a magazine, poster or book. This fundamental typographic skill isn’t difficult to master—once you know the basics you can develop your drop cap designs and create jaw-droppingly beautiful results.
1. How to Set Up a Simple Drop Cap
Step 1
With your InDesign document open, you should first prepare a text frame on your layout using the Type Tool (T). Fill the frame with the paragraph of text you would like to add a drop cap too.
Highlight with your type cursor the first letter of the paragraph, or simply place your cursor somewhere into the paragraph.
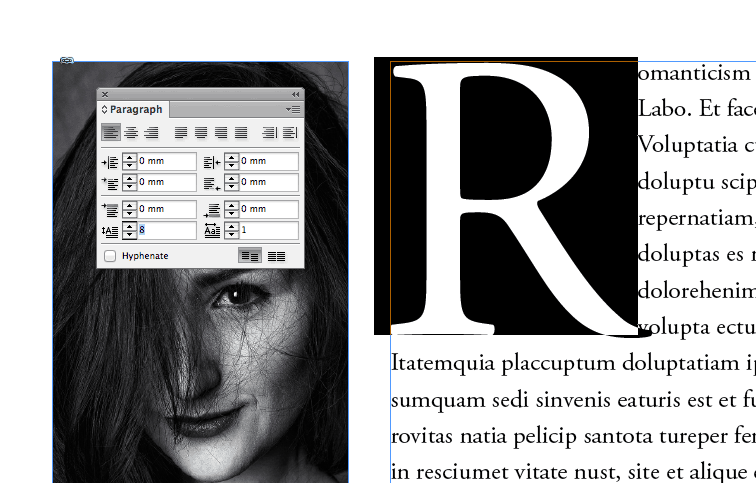
From either the Paragraph Formatting Controls panel running along the top of the workspace or from the Paragraph panel (Window > Type & Tables > Paragraph), locate the Drop Cap Number of Lines option (indicated by an uppercase ‘A’ in the corner of a sequence of lines).
By clicking the arrows up or down, or by manually typing in a number, InDesign will set the drop cap to extend a specified number of lines, increasing the size of the character as it does.
You can also adjust the number of characters included in the drop cap by increasing the value of the Drop Cap One or More Characters, an option which you can find in the bottom-right corner of the Paragraph panel.