Constructed Realities
Experimental Photographic Compositing & Visual Communication
Use Adobe Photoshop to combine photographic elements into an image that communicates an idea, emotion, story, or visual message. Your final composition may be seamless, surreal, or deliberately fragmented.
The Challenge
Photography can document what exists, but it can also construct something that never happened. In this project, you will combine at least three distinct photographic elements to create a new visual relationship. Your goal is not simply to place pictures together: the combination should create meaning.
At least one substantial photographic element must be your own photograph made for this assignment. Original photography is encouraged throughout. External images must be appropriately licensed and credited.
Learning Objectives
- Develop a visual concept through research, sketching, and experimentation.
- Combine photographs using nondestructive Photoshop methods.
- Control masking, scale, perspective, color, light, and texture.
- Use juxtaposition or fragmentation to communicate meaning.
- Revise work following critique and present a polished final image.
Choose a Creative Direction
Choose one approach or combine approaches. The technical expectations and grading criteria are the same for everyone.
Surreal Reality
Create a photographically convincing but impossible scene: altered scale, unexpected objects, merged spaces, or a dreamlike environment.
Focus: precise masks, perspective, lighting, and shadows.
Visual Metaphor
Combine images to communicate a social, cultural, environmental, or personal message. Your work may function as editorial art, an awareness poster, or an advertisement.
Focus: symbolism, juxtaposition, scale, and visual hierarchy.
Fragmented Identity
Explore memory, movement, perception, or identity using repetition, multiple exposures, selective transparency, motion, and photographic fragments.
Focus: blending modes, opacity, layering, and intentional experimentation.
Original Assignment Image Gallery — Click to Enlarge
These are the same image assets used in the original Composite Image: Poster Advertisement lesson. Study how objects, visual metaphors, scale, and unexpected relationships communicate an idea. For this revised assignment, you may also explore experimental and noncommercial photographic approaches.
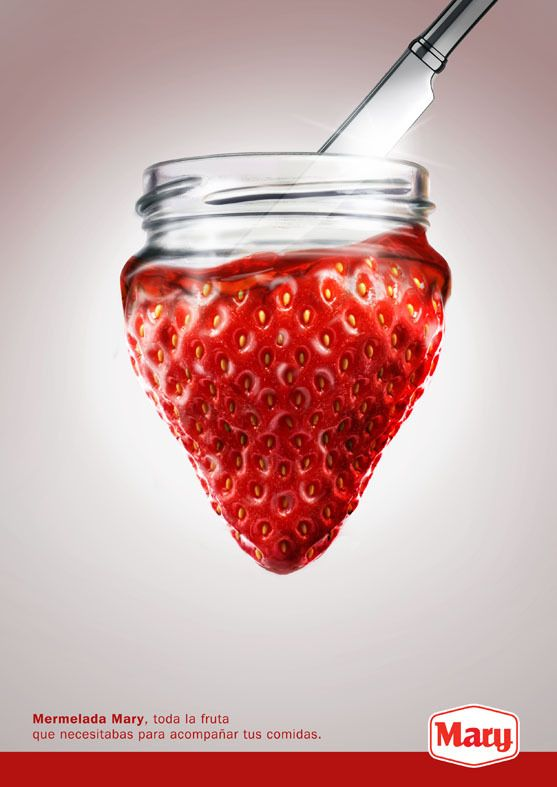
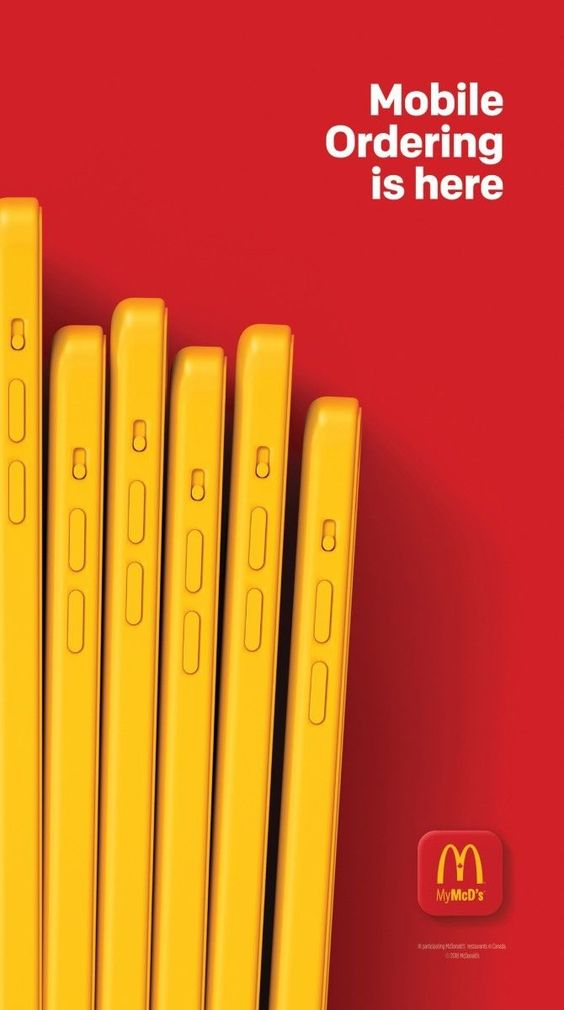
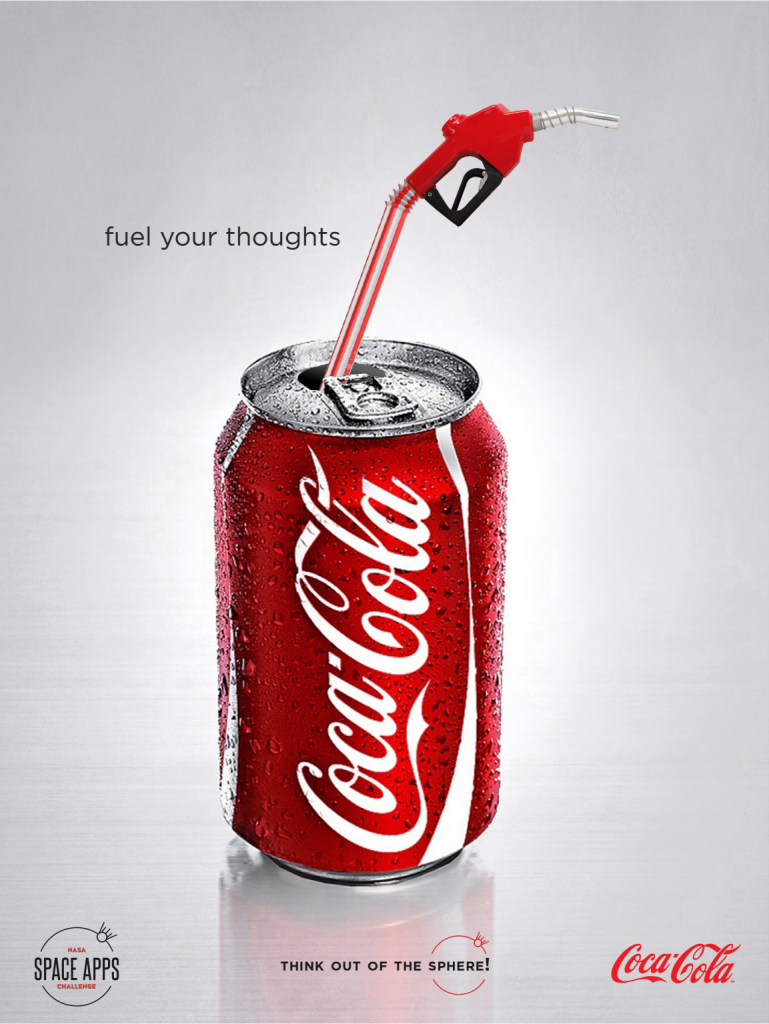
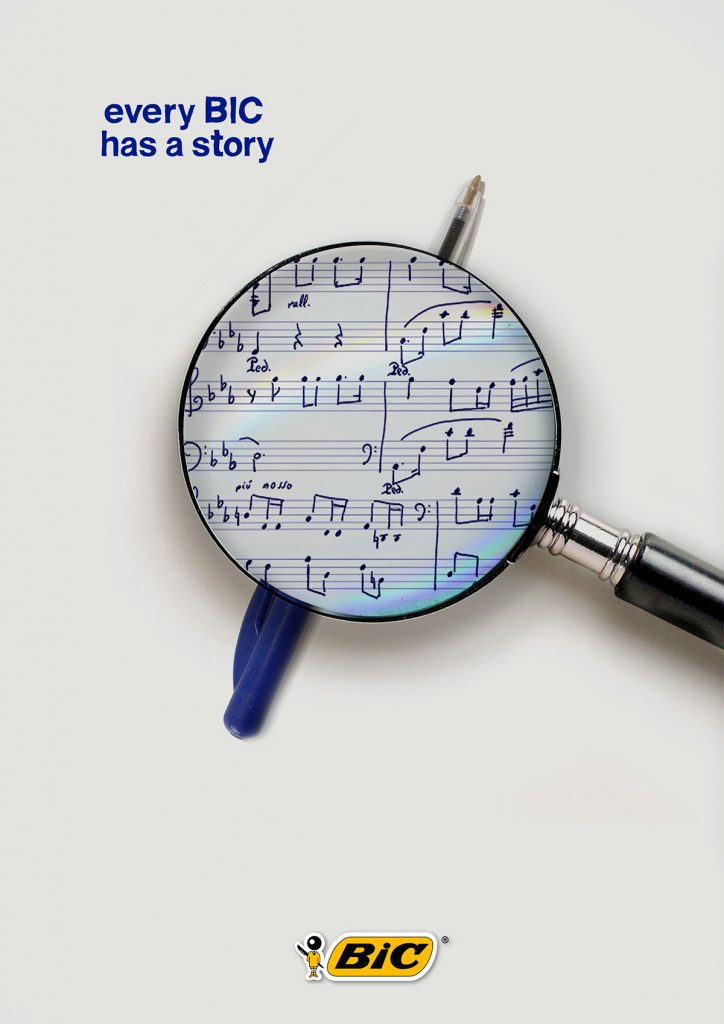
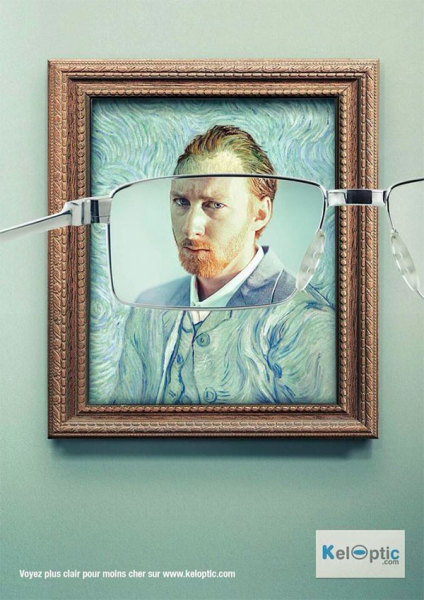
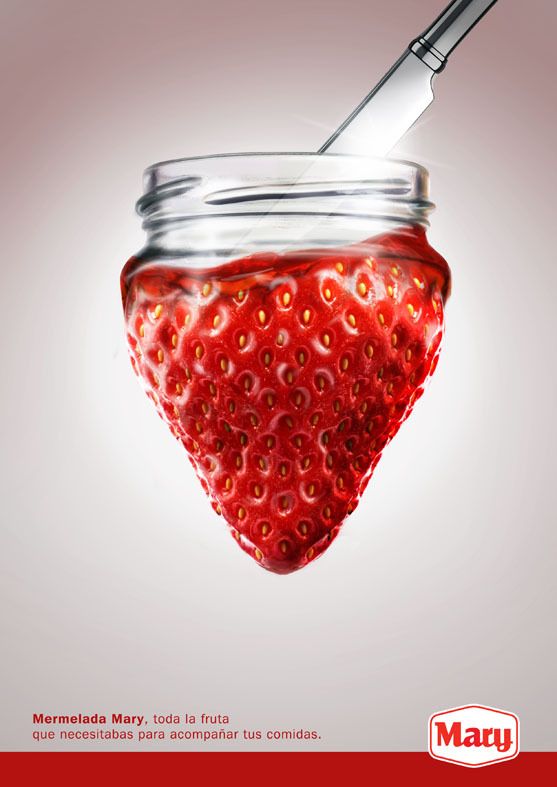
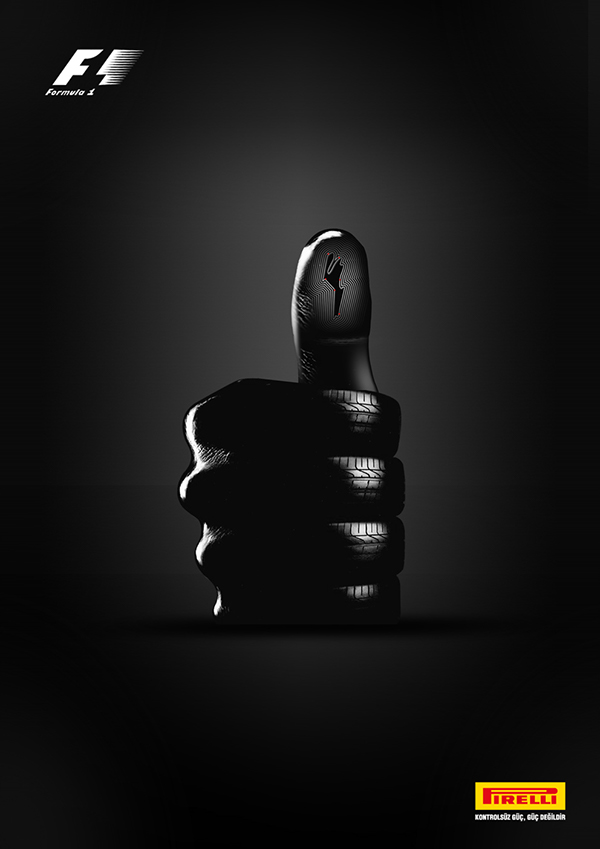
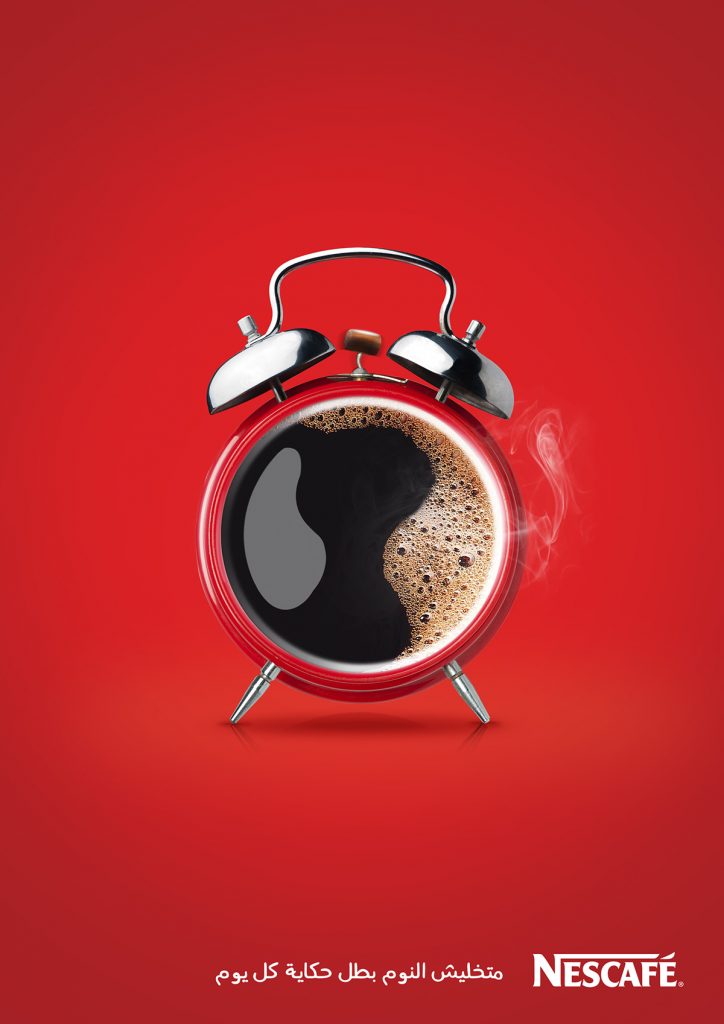
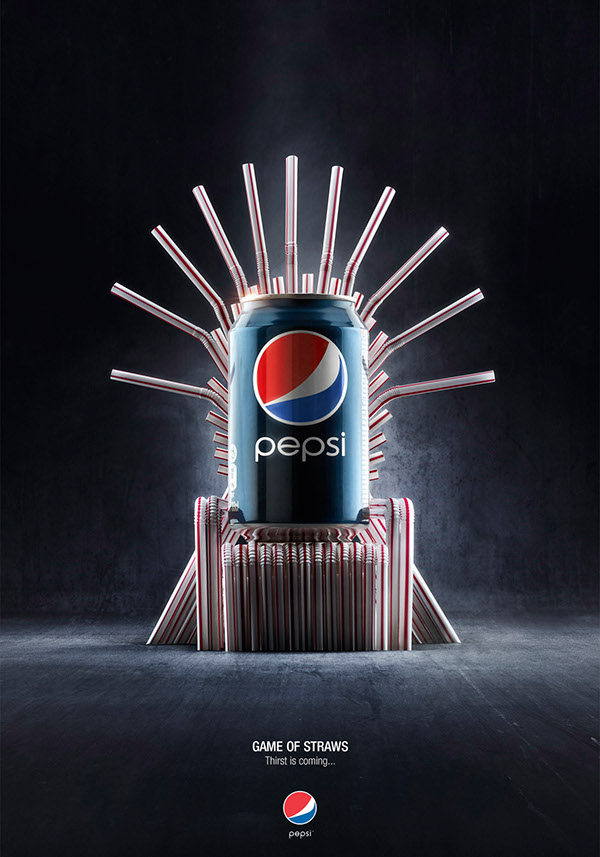
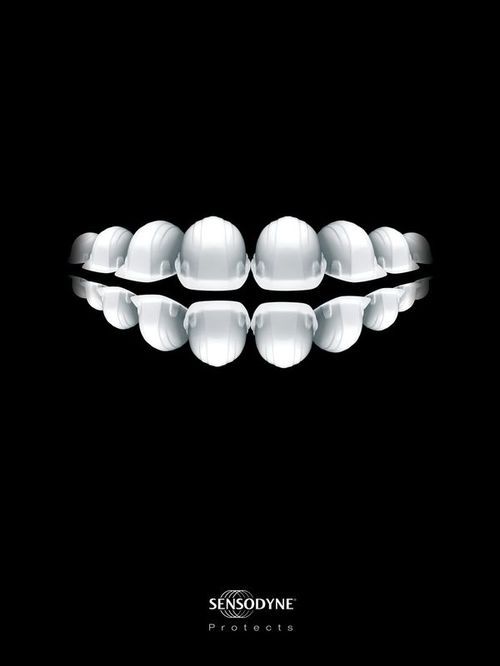
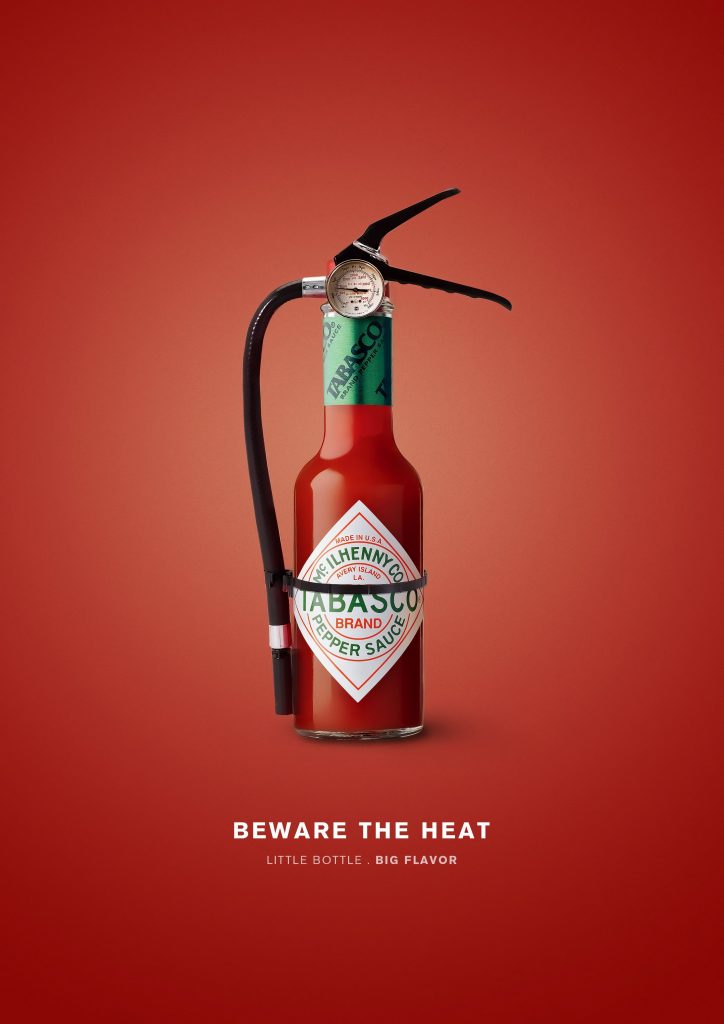
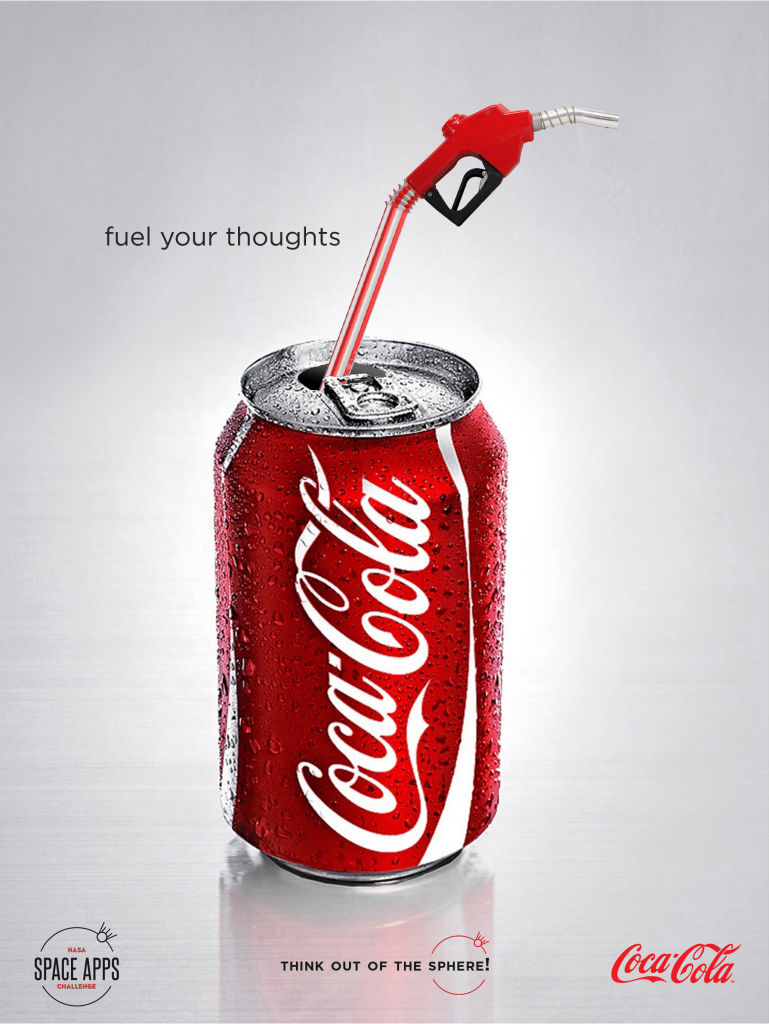
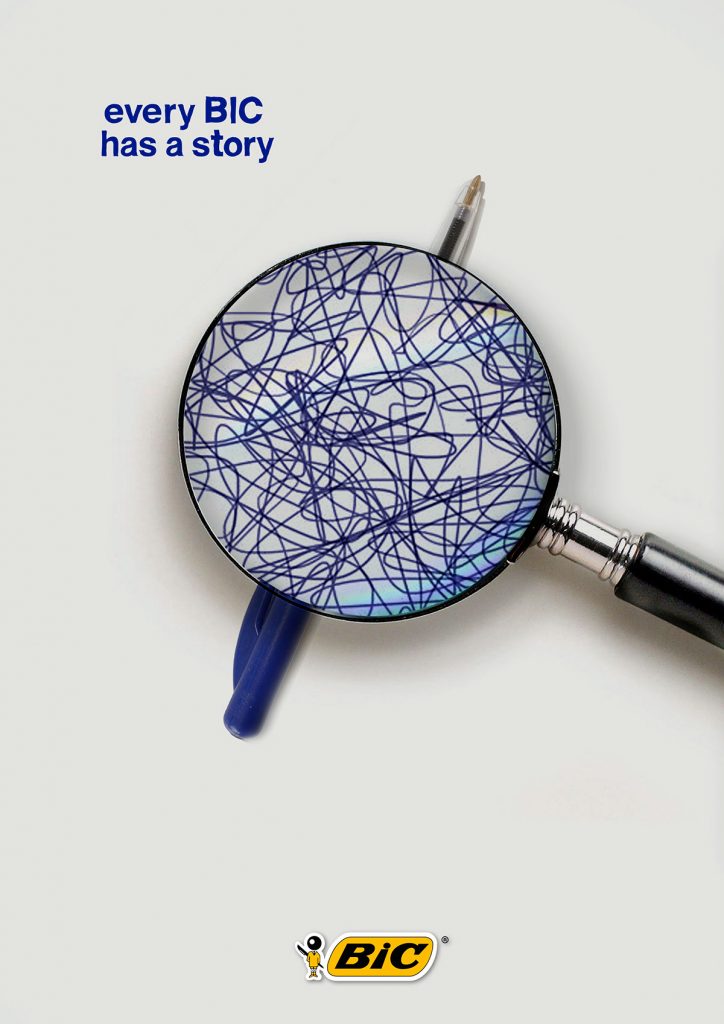
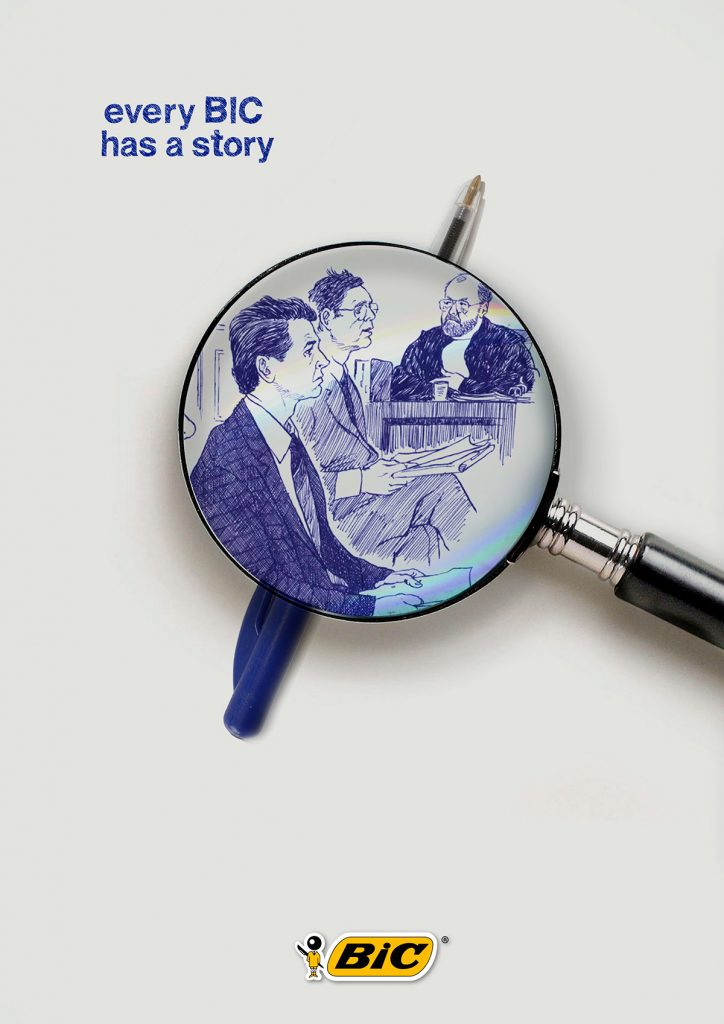

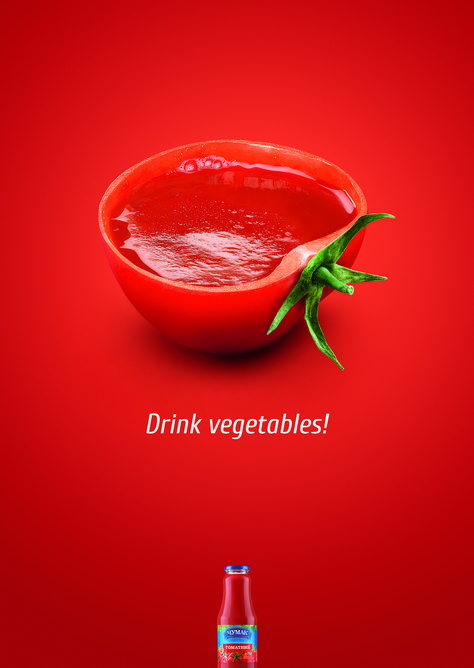
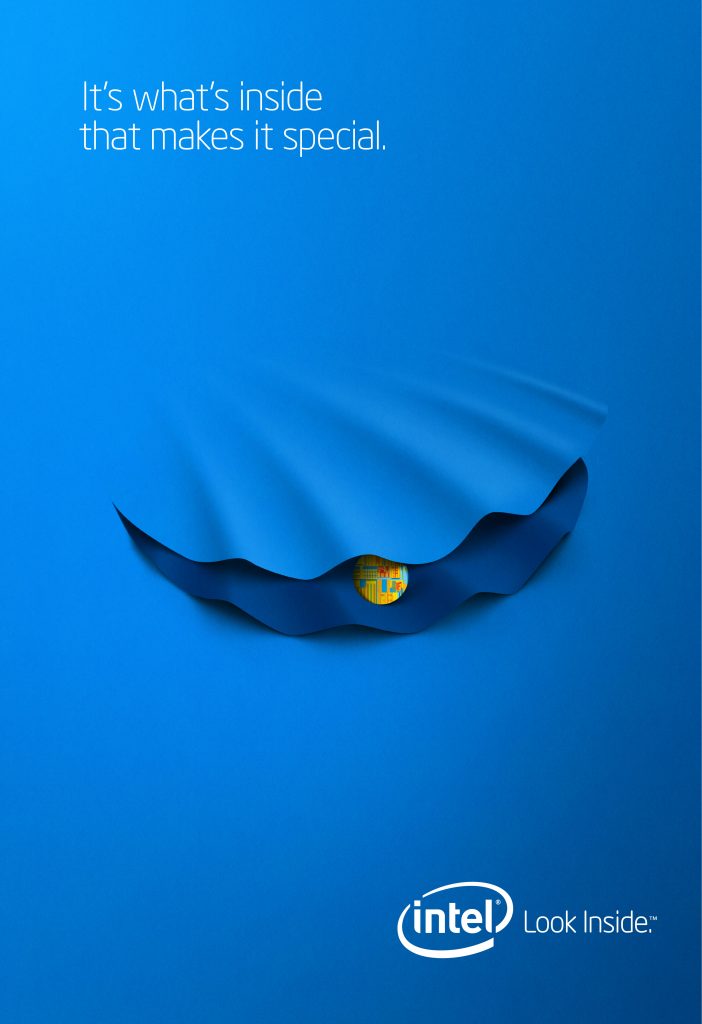
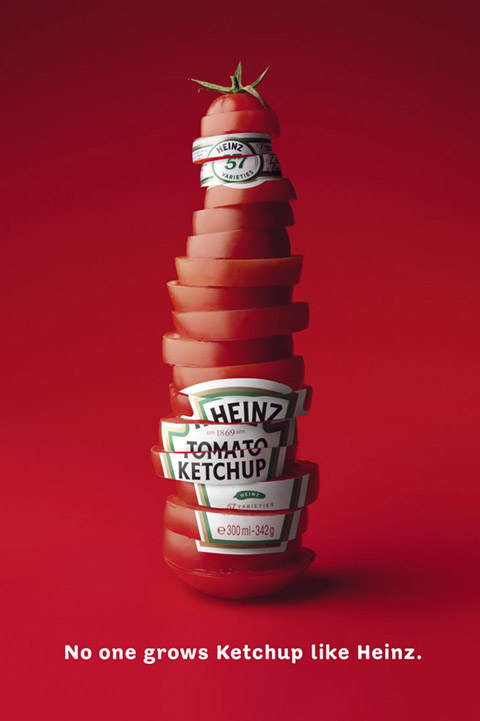
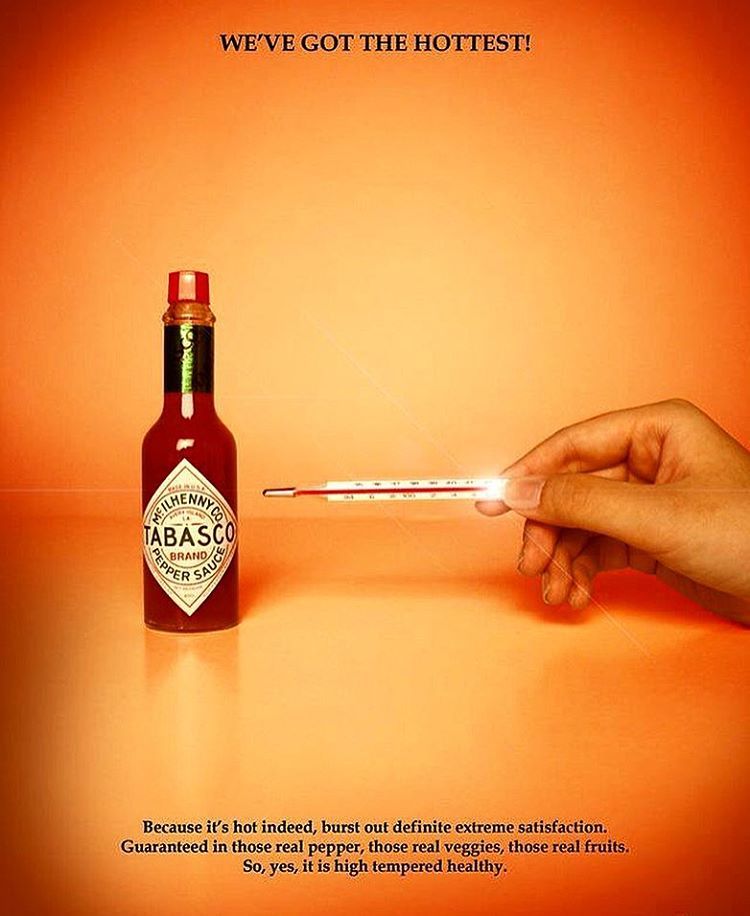
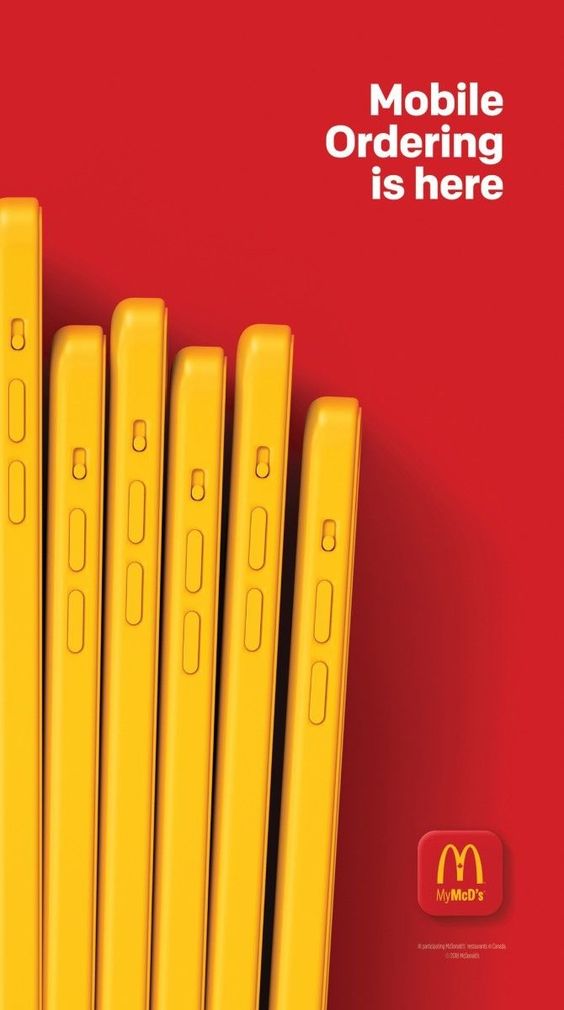
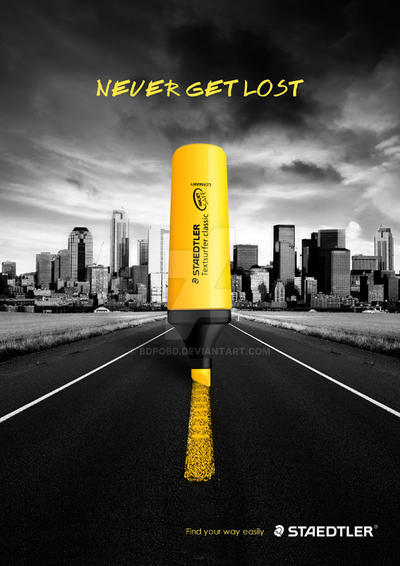
Reference images retained from the original Nugget of Joy post. For classroom study and discussion.
Two-Week Project Schedule
| Session | In Class / On Your Own | Checkpoint |
|---|---|---|
| Week 1 · Class 1 | Review examples; learn compositing techniques; gather five references; sketch three ideas; write a 75–100-word concept statement. | Research, sketches, and concept |
| Week 1 · Class 2 | Photograph and collect source material; build two rough composites using at least three photographic elements each. | Two JPG experiments and working PSD files |
| Week 2 · Class 1 | Present experiments for critique; choose a direction; refine masking, color, composition, and conceptual clarity. | Critique and revision |
| Week 2 · Class 2 | Finish the image; create one presentation mockup; write a 100–150-word statement; organize and submit files. | Final D2L submission |
Exact dates and times are listed in D2L. Complete work between class meetings as needed.
Step-by-Step Instructions
- Research five examplesFind five photographic composites, experimental photographs, or conceptual images. Record the artist or creator and source for each. Consider how the images communicate through juxtaposition, layering, or visual construction.
- Sketch three different conceptsUse quick drawings or digital thumbnails. Show the main subject, supporting imagery, and general composition. These are planning studies, not finished artwork.
- Write your concept (75–100 words)Explain what you want to communicate, why your images belong together, and what Photoshop methods might help.
- Photograph and gather your elementsCollect at least three distinct photographic elements for each experiment. Make at least one substantial original photograph for the project. Save the original files and document any external sources.
- Build two rough compositesCreate two meaningfully different compositions or treatments. Explore scale, arrangement, masking, color, transparency, and/or motion. A simple color change does not count as a second concept.
- Critique and selectShow both experiments. Explain your intent, listen to how others read the images, and choose the stronger direction. Identify at least two specific improvements.
- Refine one final compositeImprove the photographic relationships, remove distractions, check edges and resolution, and make intentional color and lighting choices. Keep your PSD layered and editable.
- Present and reflectPlace the final image in one appropriate mockup (gallery wall, poster, editorial page, billboard, or screen). Write a 100–150-word statement discussing your concept, techniques, and revisions.
Photoshop Techniques: Quick Reference
Use the techniques that support your image. Layer masks, adjustment layers, and organized editable layers are required. Other methods depend on your concept.
01 · Layer Masks Required
Place one image above another. Select the upper layer and click Add Layer Mask. Paint black on the mask to hide, white to reveal, and gray for partial transparency. Use soft brushes or gradients for smooth transitions. Avoid permanently erasing pixels.
02 · Select Subject / Select and Mask
Choose Select > Subject, then open Select and Mask to refine edges. Output to a layer mask. Inspect the selection against different backgrounds, especially around hair and detailed edges.
03 · Adjustment Layers Required
Use Curves, Levels, Hue/Saturation, Color Balance, or Gradient Map to control tone and color. Clip an adjustment to a single image layer when needed. Compare lighting and color across the composite.
04 · Blending Modes & Opacity
Try Multiply, Screen, Overlay, Soft Light, or Difference in the Layers panel. Reduce opacity and combine the effect with a mask. Useful for double exposures, texture, and deliberate fragmentation.
05 · Smart Objects & Transform
Convert image layers to Smart Objects before extensive transformations. Use Edit > Free Transform to adjust size, rotation, and perspective. Do not repeatedly enlarge low-resolution images.
06 · Light, Shadow & Depth
Compare shadow direction, color temperature, sharpness, depth of field, and perspective. For realistic composites, resolve inconsistencies. For experimental work, use differences deliberately.
07 · Experimental Methods
Explore motion blur, repeated subjects, scanned textures, multiple exposures, transparent layers, selective grain, or intentional color shifts. Use effects to strengthen the idea, not simply to decorate the image.
Checkpoint Deliverables
Research & Planning
- Five credited visual references
- Three quick sketches
- 75–100-word concept statement
Experiments
- Two rough composite JPGs
- Editable PSD working files
- Brief comparison of the two directions
Final Submission
- One polished composite
- One presentation mockup
- 100–150-word final statement
- Source credits and process documentation
Final D2L Submission
Create a folder named LastName_FirstName_ConstructedRealities and include:
- Final composite: high-quality JPG
- Editable working file: layered PSD (do not flatten)
- Presentation mockup: JPG or PNG
- Process PDF: five references, three sketches, two experiments, and evidence of revision
- Final statement and source credits: PDF (may be included in the process PDF)
Typography is optional. If you create an advertisement or editorial image, text may support the concept, but the photographic image should do the primary communicating.
Grading Rubric · 100 Points
| Category | Points | What I am looking for |
|---|---|---|
| Concept & visual communication | 25 | Originality, clarity, and meaningful relationships between photographic elements. |
| Photoshop technique | 30 | Masking, selections, adjustments, compositing, transformations, and nondestructive organization. |
| Experimentation & development | 20 | Research, sketches, two distinct experiments, critique, and meaningful revision. |
| Composition & visual hierarchy | 15 | Effective use of space, scale, color, balance, and visual attention. |
| Presentation & documentation | 10 | Mockup, statement, credits, file organization, and complete submission. |
| Total | 100 |
Artists & Resources
Look at the different ways these artists construct meaning through images: Jerry Uelsmann (photomontage), John Stezaker (collage and juxtaposition), Erik Johansson (surreal photographic illusions), Lorna Simpson (identity and representation), Barbara Kruger (image and text), and Idris Khan (repetition and layering).
For technical help, use Adobe Photoshop Tutorials and the Photoshop User Guide.